

Apple iPhone PUSH notification system
Application price: 2.99 USD
Application name: “Prowl”
Link to App Store: Prowl: Growl Client
To enable iPhone Push-messaging you will need to purchase and install a special iPhone messaging client called “Prowl” on your Apple-iOS device. This app costs only 2.99 USD. With this app you will get almost unlimited amount of push-alerts included in the package (current limitations is 1’000 alerts per hour)
This how-to guide will show you everything you need to do to get it up and running, so read this page carefully!
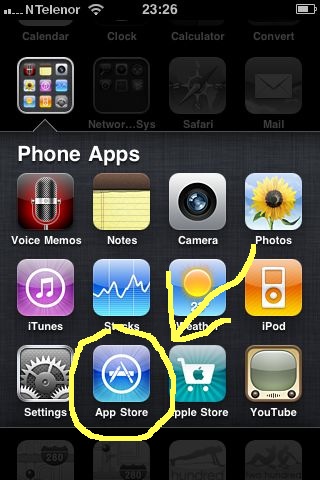
First we need to download and install the iPhone-App. To do this, turn on your iPhone and open “App Store” on your phone
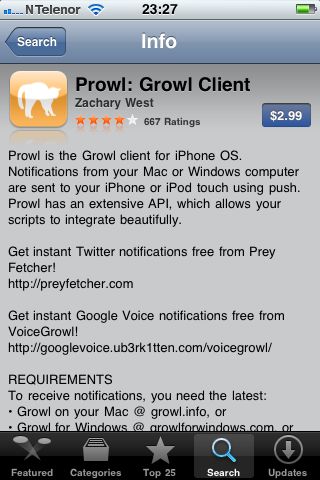
02: Then go into the search tab in App Store and enter "Prowl" as search-word

Then click on "prowl: growl client" in the result-list, and then purchase it.
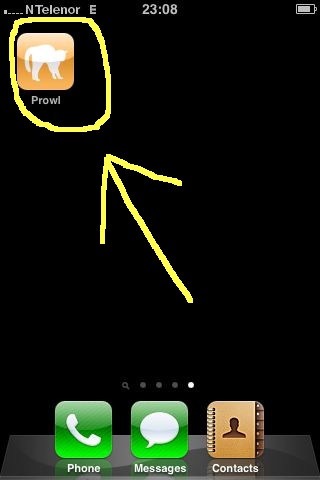
Soon you will find the Prowl application installed on your phone. Please click on the Prowl icon on your phone now to open it.
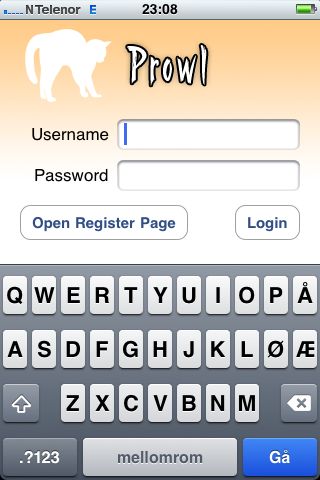
You will now see the welcome-screen in Prowl. Since this is the first time you run it, you need to register for a free Prowl-account. Click on the “Open Register Page” in the application to open up the register-page in Safari.
Scroll down to the very bottom of the page, and enter your desired username, password and email address. (email only needed if you want to reset your password in case you forget it, highly recommended, but not necessary)
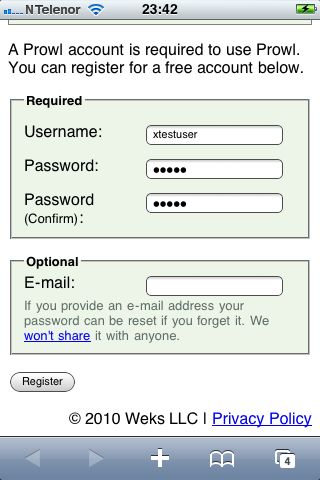
Then click “Register” and your account will be created in a couple of seconds.
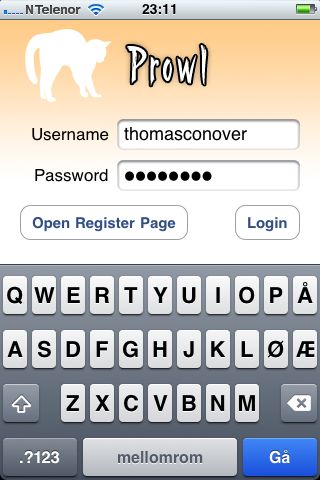
Now, the next thing you need to do, is exit Safari and run Prowl again and enter your newly created username and password.

Run the Prowl app, and enter your name and password, then click on the “Login” button.
The application will now ask you to accept push messages. You must click OK on this request or else the application will not work properly.
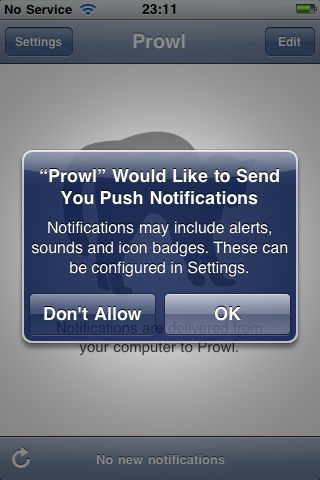
Now we are ready and the application and registration process is finished!
Before we head on to activate the Push-messaging in the Secondlife-Gadget itself, we should now run a small test-notification from the Prowl web-page to ensure the system works correctly.
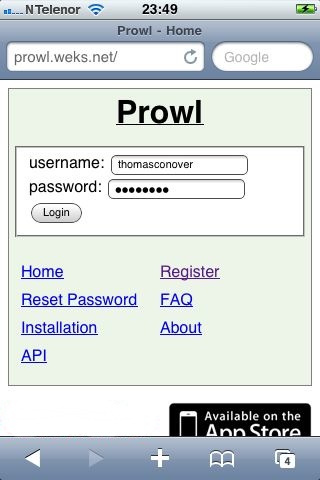
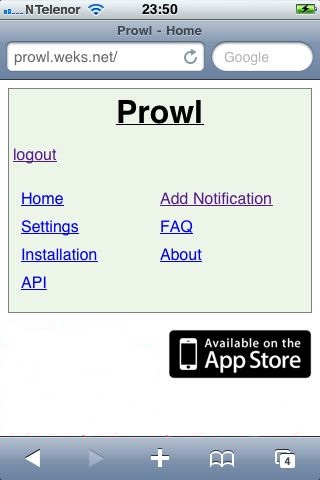
Exit the Prowl application and run Safari web browser and login to Prowl admin web-page
When you have logged in successfully, click on the link named "Add Notification". This is where you are able to send test-notifications to see if your iphone receives the messages correctly.
After clicking “Add Notification”, scroll down at the notification-page until you see the "message" field on your screen
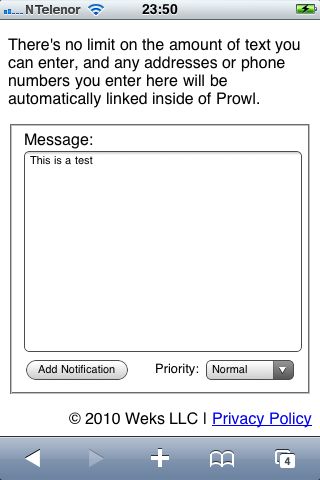
Then enter "This is a test" or any kind of message and click "Add Notification". In a few seconds you should receive a push-notification on your iPhone!
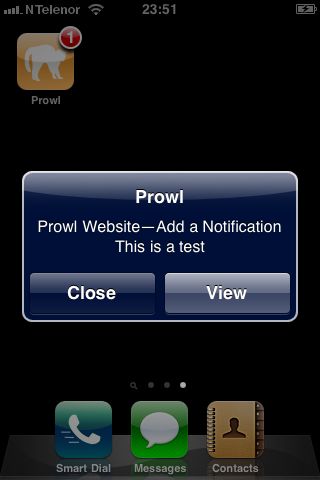
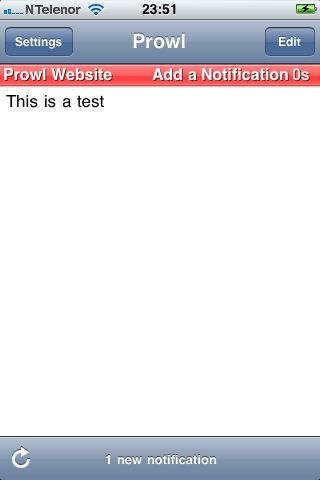
It works! Click "View" to see how the messages gets stored in prowl for later review:
Now everything is setup on your iPhone device. The next thing we need to do is to generate a “API Key”. This special API key needs to be copied into the Secondlife Gadget.
PS! Never share this API key with anyone else. This API Key should be kept private. However, if you suspect your API key has been compromised, you can easy deactivate it and generate a new one if needed.
Open your favorite web-browser on your computer and visit the this link: http://prowl.weks.net/
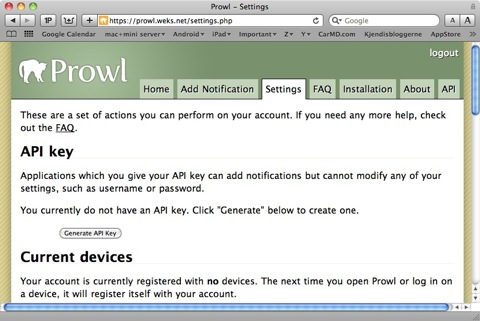
Login to Prowl web-site and then click “Settings” on top of the page. Then you must click on the small “Generate API Key” to generate a new API key.
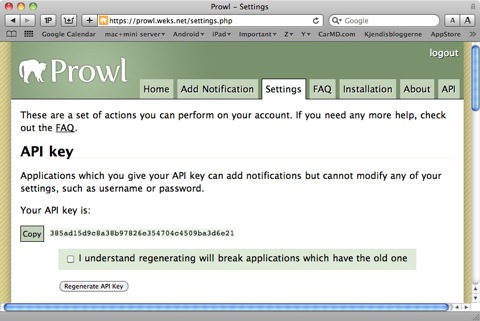
Then you will see a web page with your API key on it. Copy this key into your clipboard by clicking on the small “Copy” button at the left side of it
Now go back into Secondlife and stand in-front of the security-system. Then write in secondlife public-chat:
/7apikey + space
Then paste the key from clipboard with Control+V on your keyboard, and the text-line will look like this:
/7apikey 385ad15d9c8a38b97826e354704c4509ba3d6e21
Then hit enter and the gadget will automatically configure itself. If you did it correctly you should receive a test-message from the Secondlife gadget on your phone within a few seconds after you hit enter. The test-message contains the full name of the gadget, the current SIM/Region it’s located and the exact coordinates.
That’s it! The installation-process is finished and you will instantly get notified with any important information from the gadget.
You can de-activate the iPhone push-messages if you want. Just write in chat: /7apikey remove
Advanced multi-user PUSH messaging
You can also configure the system to send PUSH messages to multiple iPhone-accounts and phones.
This is very simple, just use the very same /7apikey command, and separate each key with a COMMA.
Example: /7apikey keyA,keyB,keyC
(replace “keyA”, “keyB”, “keyC” etc with a real API key from the web-site)
PS! Do NOT use spaces between the keys and the commas or else it will fail!